Wednesday, October 10, 2007

James C.

(Original)
Here is James and his PawPaw. Now lets make this an even more memorable moment. Black & White images produce a nice dramatic effect...when done properly. Most people like to click on Image/Adjustment/Desaturate. hmmmm NO. That just rips all the color out and I do mean rips. You degrade the color subtleties. When you properly shift an image to B&W the different colors are represented by shades of gray. You should be able to look at a B&W and guestimate what the color was by the briliancy of the gray. Sounds weird but by playing with the balances you really see the difference.

By adjusting the colors properly you get the background in the "warm" gray. And since we started with a Duplicate of the original pix, we can copy the copy and soften the color of our subject.

The result..

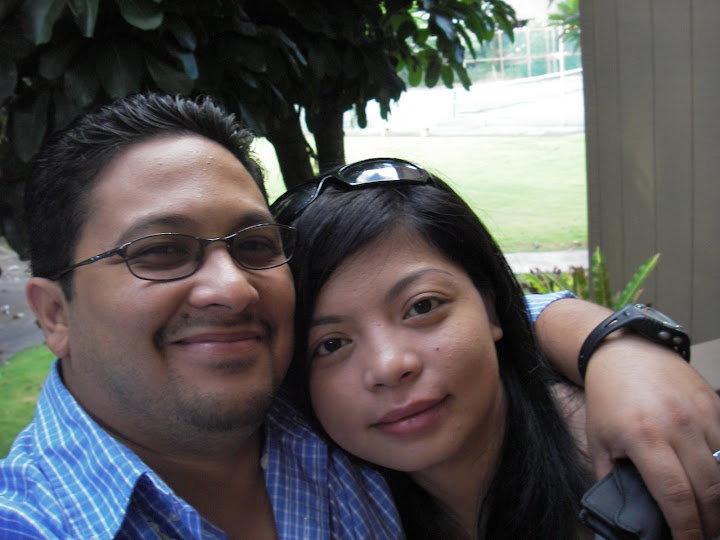
James and his PawPay sharing a precious moment.

Dad's Name

The flame looks easier than it is. This seemingly simple text effect takes about 5-6 layers. Smudging the base of the flame and overlapping multiple shades of blue, highlighted by white. On a black background it really pops out. The mirror image is easy, just copy the final layer and flip the image horizontally and lower the transparency. I think the hardest part about this kind of project is getting the flames to look realistic, like they are dancing around.

American Gothic

(Original)
Let's start with the classic Americana art piece "American Gothic." This became an Anniversary present for my parents.

(My Parents - Original)

The most time consuming aspect of any rendering is going to be the cropping process. There are many different ways to do this using PhotoShop. In this case I used to Extrating tool.

Basically, you highlight the outline of the image you want to use (in this case my parents). Then you fill the outline and hit extract. Getting the all the detail (like hair) can be tedious. Now we have our isolated image. Here's the pix with the foreground in color and the background in Black & White.

Now we open the American Gothic picture and set it as the background. (Note: Always Duplicate the background and work with the copied image) Then drag the isolated image from Parent's pix onto the Gothic screen. Either it's going to be too big or too small. You are going to have to Transform the scale size. You are going to want to blur the edge slightly of the isolated image to help blend.

After a little play with effects and texturizing you get the final result.